Google has pulled a surprise with Android 16 by releasing the test build of its next major mobile OS update months ahead of the usual schedule. The cadence of public updates is also changing, and instead of a third-quarter release, a stable update will be released midway through the year.
Now, this is the Developer Preview version of Android 16, which means it is targeted strictly at developers, manufacturers, and enterprises making mobile software. You should not install it on your daily-use phone. But if you’ve got a spare phone lying around and can’t wait for the public beta testing, you can follow these steps to install it — just be prepared for bugs as well as performance hiccups.
Can my phone run Android 16?
Speaking of phones, you must have one that is compatible with the Developer Preview build. For Android 16, the following Google devices are supported:
Getting your phone ready for Android 16
Before you proceed with installing Android 16 on your phone, you need to prepare your phone by changing the USB behavior and enabling a couple of crucial settings. Here are the steps you need to follow:
Step 1: First, you need to enable Developer Mode on your Android phone. To do so, go to the Settings app, find the About phone section, and quickly tap seven times on the option that says Build number at the bottom of the screen. You have now enabled Developer settings on your phone.
Step 2: Next, go back to the first page in the Settings app, tap on System, then scroll down and select Developer options.
Step 3: On the Developer options page, scroll down and enable the OEM unlocking option.
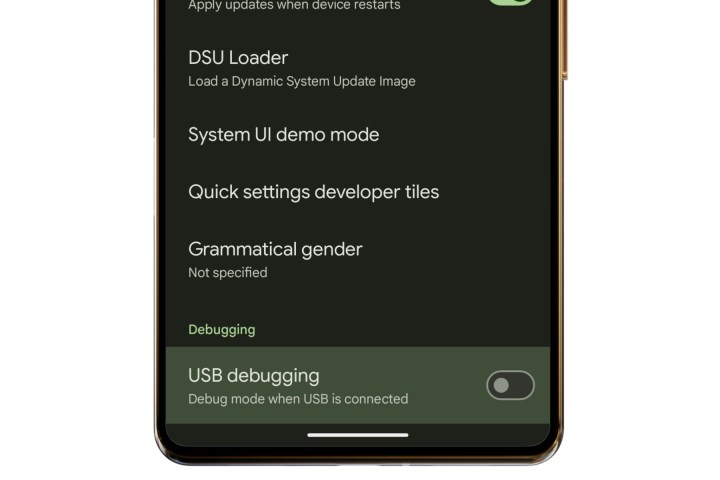
Step 4: Scroll further down the same page and flick the toggle that says USB debugging under the Debugging section.
Step 5: Once the two settings are enabled, connect your Android phone via a USB cable to your computer.
Step 6: After connecting the two devices, swipe down from the top on your phone’s screen, expand the Android System notification bar, and on the the next page, select File transfer / Auto mode under the USB used for section.
You might have to authenticate the USB behavior change with the preferred screen lock method on your phone.

How to install Android 16
There are two ways of installing the Android 16 Developer Preview 1 update on your compatible Pixel hardware. The first one is to manually flash it after downloading the system images supplied by Google.
This one requires a bootloader unlock and a full device wipe. It’s also quite technical in nature, and unless you know your way around the whole process of starting a phone in fast boot mode and using the ADB tools, it’s best to avoid it.
The easiest way to install the Android 16 update is by using the web-based Android Flash Tool. To use it, you must be running the desktop build of an internet browser that supports WebUSB, such as Chrome or Edge. Once there, all you need is a USB-C connection to get started.
After clearing the on-device requirements, follow these steps:
Step 1: Connect your phone via a USB cable to your PC.

Step 2: Open the Chrome or Edge browser, and visit the official Android Flash Tool webpage.
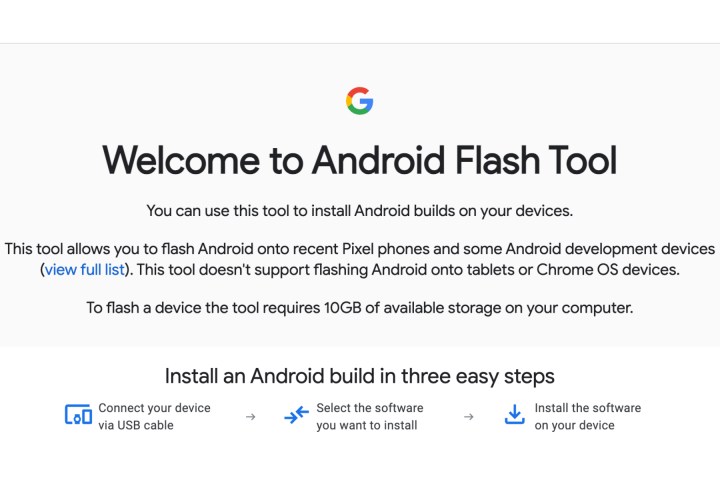
Step 3: Once you’re past the welcome screen, select Allow ADB access, followed by Add new device.

Step 4: You will now see a list of devices. At this stage, select your device and proceed with the Connect prompt.
Step 5: After the USB connection is successful, click on Always allow from this computer to activate the debugging channel between the two devices.

Step 6: Next, you will come across a list of build files corresponding to each compatible device. Select the one available for your Pixel device.

Step 7: Once you’ve found the appropriate Android 16 build for your device, select Install Build and wait for the device to reboot and enter into the Fastboot status.
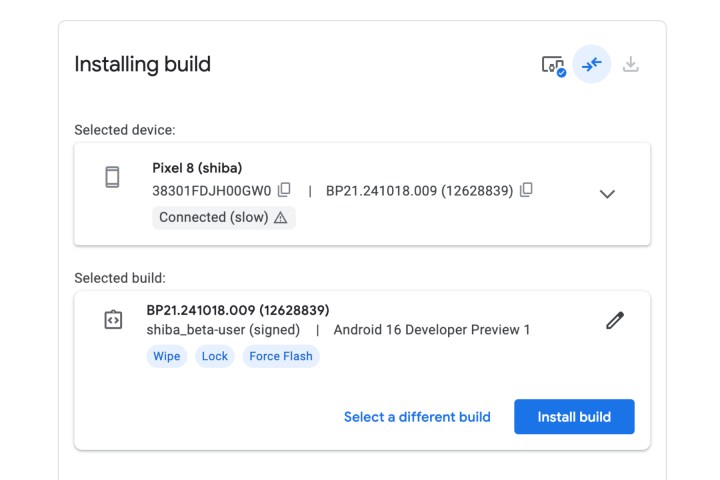
Step 8: Now, confirm that you want to flash the selected Android 16 Developer Preview build on your Android phone.

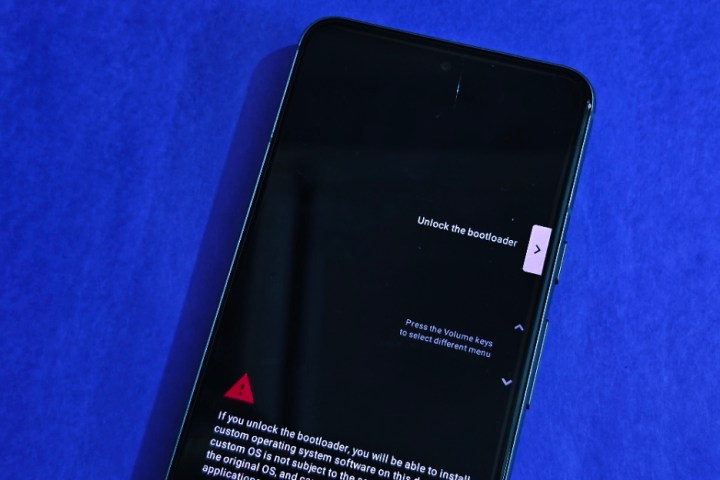
Step 9: After the process is complete, you will see a completion message on the screen. At this stage, you can successfully disconnect the phone from your computer. You may be asked to lock the bootloader again before the installation is complete. Use the power and volume buttons on your phone to lock the bootloader again.
A few words of advice
Your compatible Pixel phone or tablet might not go through the web-based flashing process for a variety of reasons. For example, certain carrier-locked phones may not allow bootloader unlocking.
You may also run into some trouble if you’re using a USB hub or adapter instead of directly connecting the phone to your computer. There are also chances of running into a situation where connected Android devices are unable to boot properly.
To handle the latter situation, you might need to put your device into the Fastboot mode manually by turning off the device. Next, press and hold down the Volume button, and then hold the Power button.
Once the device is in Fastboot mode, launch the online Android flash dashboard and proceed with the steps outlined above. Do keep in mind that once you’ve successfully installed the first Developer Preview of Android 15, you will receive the subsequent updates as an OTA build.